Configure your Collabox – Basic actions
This section shows you the first steps to configure your Collabox.
Remember, if you have any questions along the way, we’re here!
Put the Collabox in your colors and logo
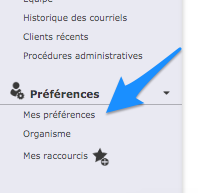
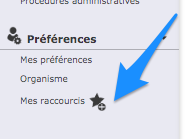
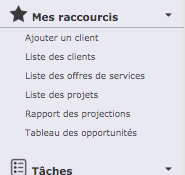
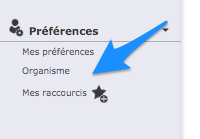
Choose your shortcuts
- To be effective, you can indicate all shortcuts that you will use regularly.
- They will always be located on the left at the top of your menu, so it’s quick, no more searching!
Enter information about your company
- Indicate general information in the – tab INFO- of the Organization (it’s you!) —- in the menu (down) —-
- This information will be used later to make your quotes (service offer), your invoicing.

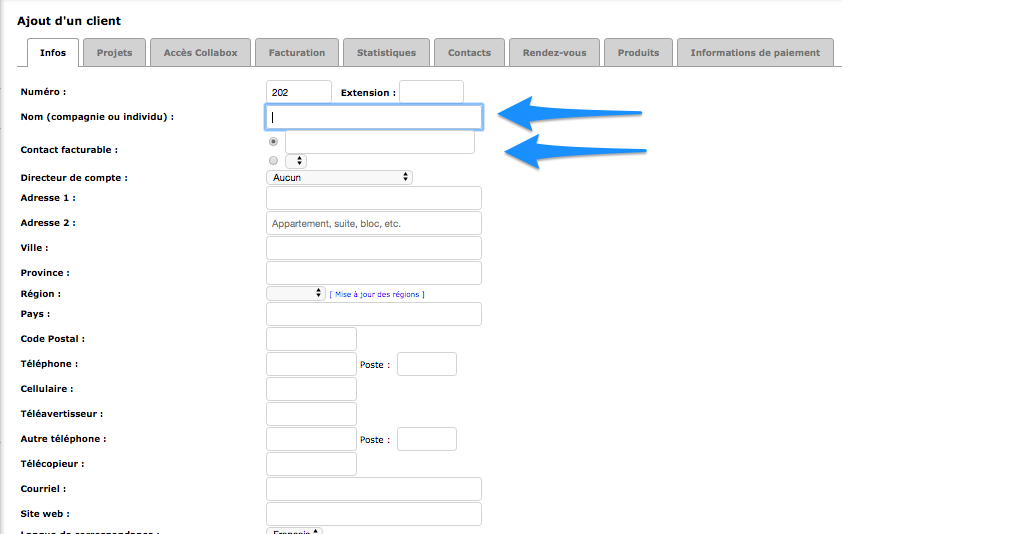
Enter a customer and a contact
- For Collabox, a customer is a company and a contact is the person that you know in this business.
- This sheet is your main key to doing all your customer follow-ups in terms of sales, tasks, projects, quotes and accounting operations.
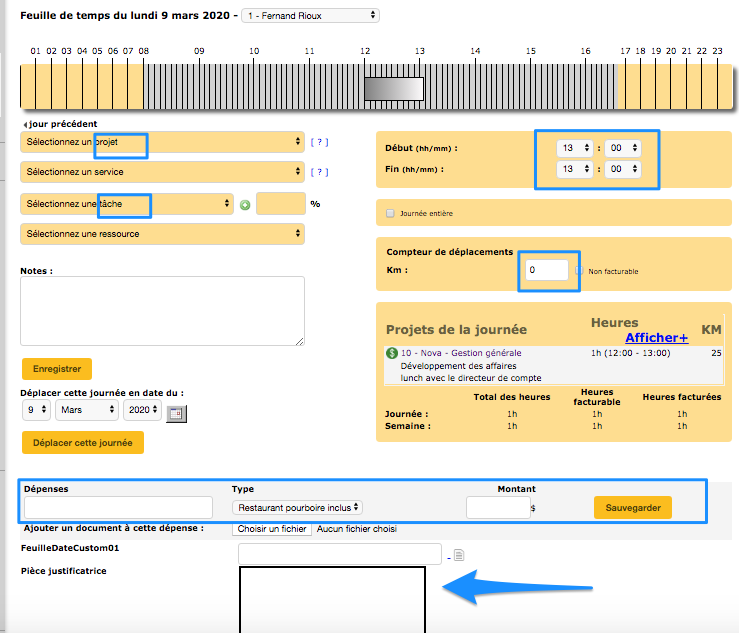
Familiarize yourself with the Timesheet
- client-project-tasks
- time spent on the task = beginning end
- disbursements (restaurant, parking, mileage) – if necessary
- take a picture with your cell phone, your restaurant receipt or your parking coupon and insert it in the “SUPPORTING DOCUMENT” field
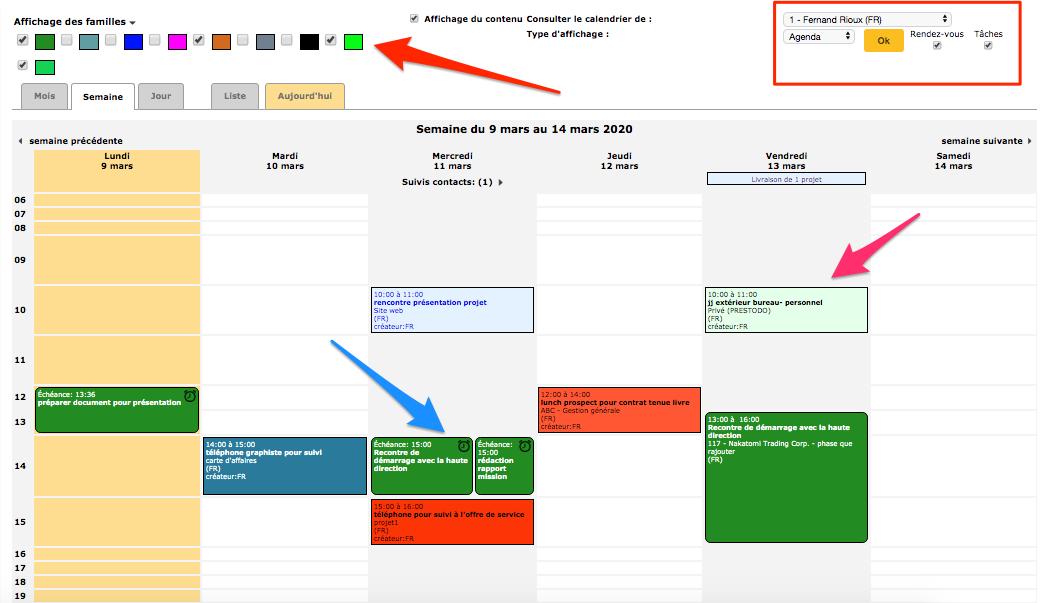
Discover the calendar
In this calendar there are appointments and tasks, according to the desired display
- The display of families allows you to select or deselect types of tasks or appointments in order to have a better overview
- You see the red frame ? This is the display information that you can select to your liking / appointment only or tasks only
- If you work in a team, you can display the calendars of your colleagues (according to the already pre-established accesses). No more … endless emails to schedule a meeting!